

Module trays and seed trays. There are so many different options and they do come with a price tag. What if we put on our creative hat and pick up some household items to create just what we need. I’ve been looking online and in my house to find some solutions and thought let me share them with you.
Firstly we will look at items we can pick up and use and after that we will alter a few objects to our liking. With minimum effort we can get better results!
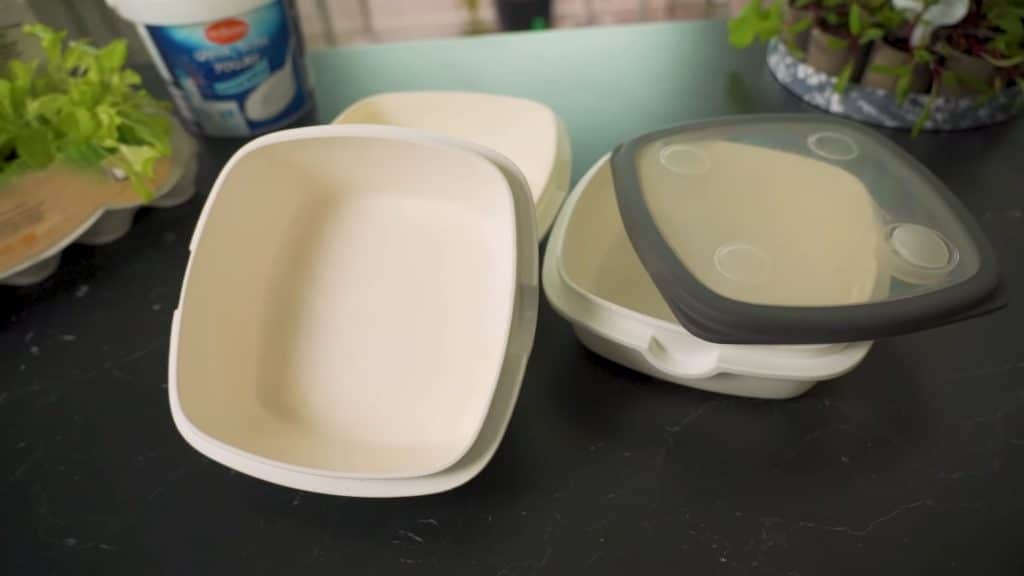
Let’s start with a familiar object we all have in our house. Tupperware bins.
We personally use these for storing food in the fridge or freezer but they are also great for starting out our seeds.
We can either fill them up with a fine layer of compost or vermiculite and sprinkle our seeds on top to prick out later or what I like to use them for is germinating my peas. Add a few layers of paper towels and add the peas on top. Another layer of paper and wet them completely. Put the lid back on top and they will sprout in about 5 to 7 days.
Overall a great addition to our seed starting trays; Tupperware bins.
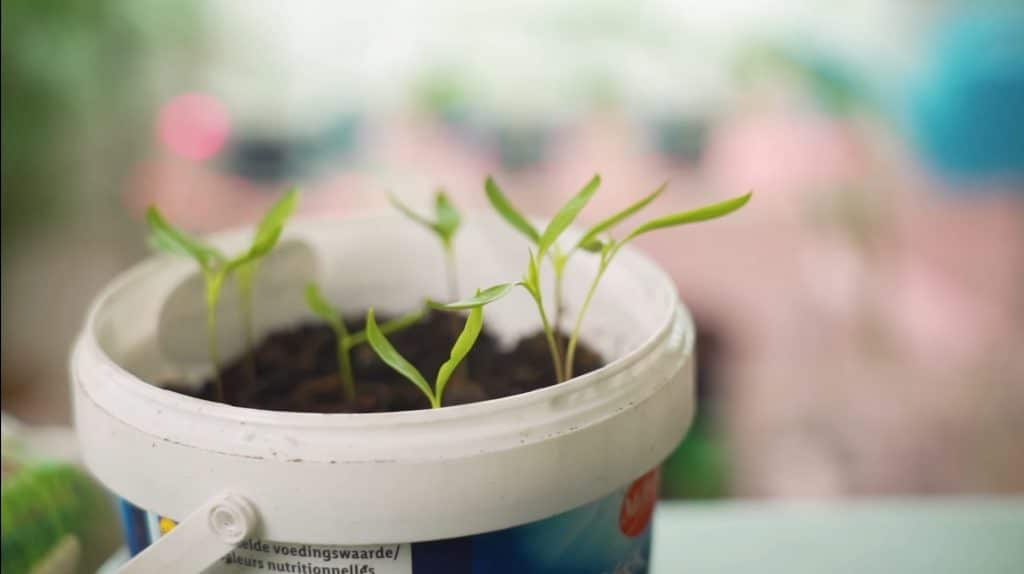
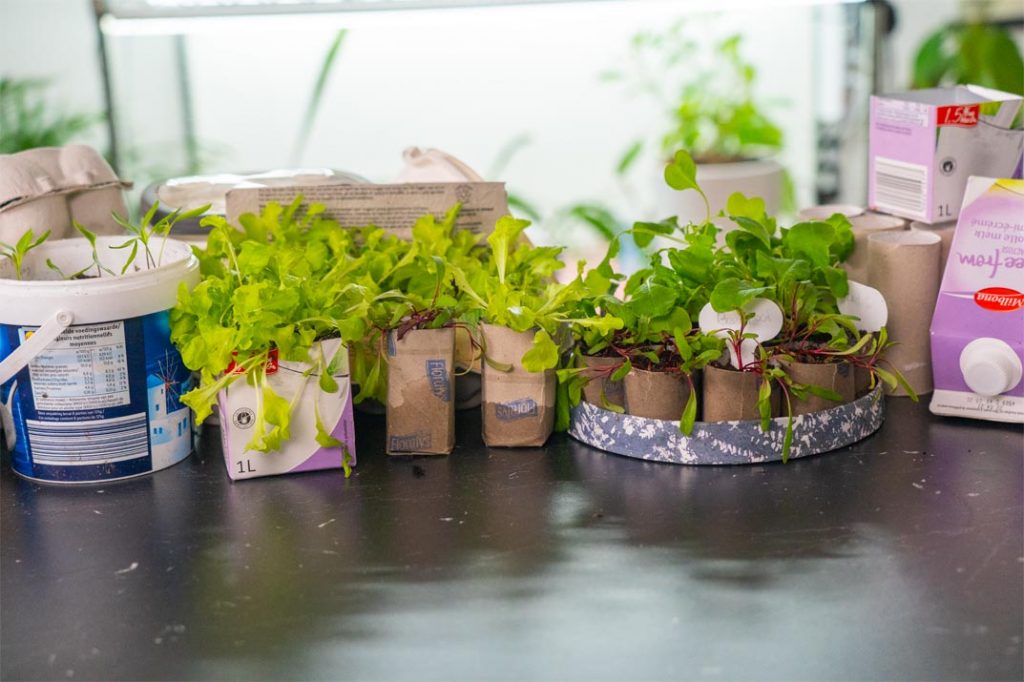
Next to Tupperware bins there is a big chance many of you use some sort of plastic container to store or buy your food in. I’m personally a big user of Greek Yoghurt and this comes in these big 500ml (2 cups) bins that work great for growing vegetables and flowers.
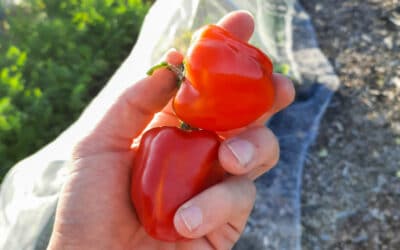
Nicole uses them for growing Gladiolus plants at the moment and I use them to start my tomatoes and peppers. I’ll prick the seedlings out when they are big enough. This way we can grow more in a small space and only use the healthy seedlings.
To help with water drainage I would suggest adding a few holes to the bottom of the bin. When planting seedlings we need to make sure we don’t overwater. Roots need air to survive so when it’s filled completely with water the plants will die.

Next to bins that are ready to use immediately there are a few that require some extra input. I’m a big fan of the milk carton design seed tray. It’s easy to make and use. All you have to do is cut of the top and you can start planting. The great thing about the milk carton is that it’s inlined with aluminum foil. This protects the outside cardboard from decomposing and therefor it will last longer for multiple sowings.
To make them we grab a pair of scissors and cut of the top. I like to make them about 7,5 to 10cm (3 to 4”) but You can adjust for a certain plant if you want to.
One thing to mind is not planting the entire pot into your garden like you might want to do with other cardboard pots. Milk cartons don’t decompose easily.
As with the yogurt pots it’s smart to poke a few holes in the bottom to let the access out.
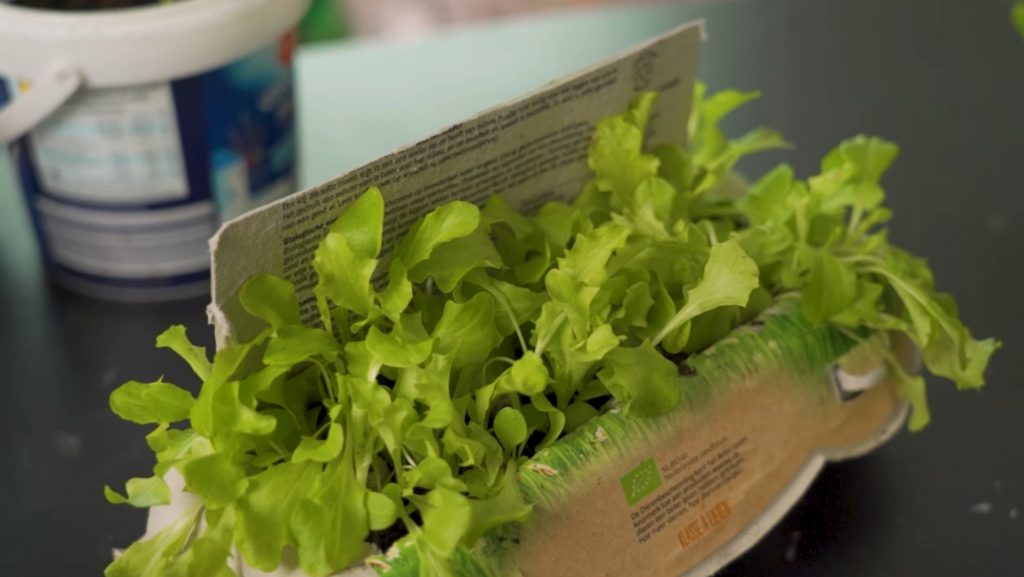
Next to milk cartons you probably also have loads of egg cartons that you normally throw out. Not anymore! We can use egg cartons in many different ways to start out our seeds. I love to cut open the op and fill it up with compost completely. This way we can fit in a lot of compost and grow some proper plants before transplanting.
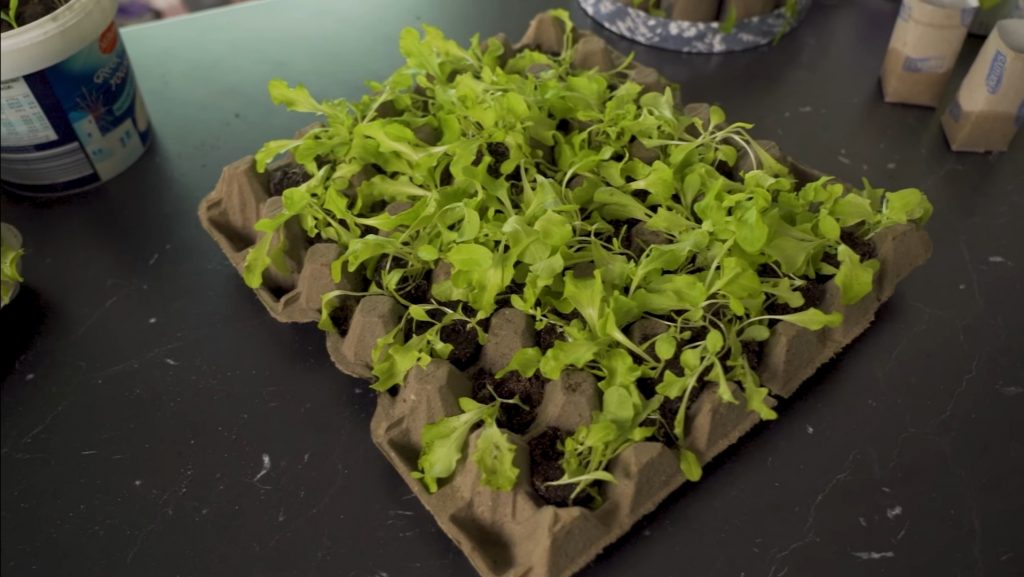
Another great way is to just fill up the empty egg spaces with compost and start directly in the holes. I’ve noticed this doesn’t work to well with the bigger trays as they are made out of very thin cardboard and tear easily. The egg boxes with a lid seem to work best.
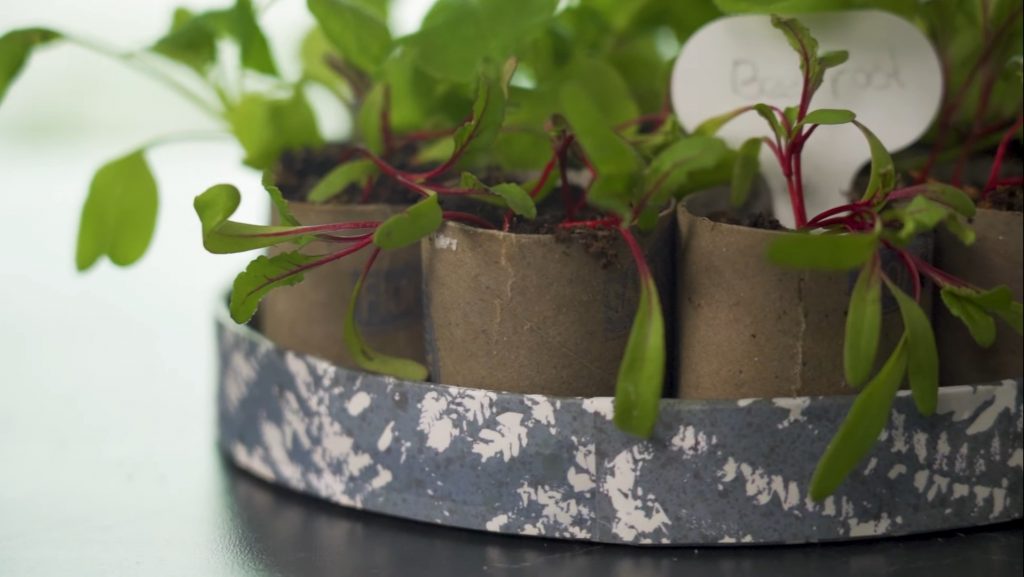
Next up might just be the perfect module tray you can find at home right now. Toilet rolls have the exact size of a modern module tray cell. Roughly 4 to 5 cm (1,5 to 2”) in diameter. They can be used for smaller plants when cut in half to roughly 5 cm (2”) in height. Or for plants like peas if you leave them full length.
I’ve put the toilet rolls on a paper lid but a plate or a container would be fine as well. It can even be more fun if you vary them in sizes to make it a bit more playful!
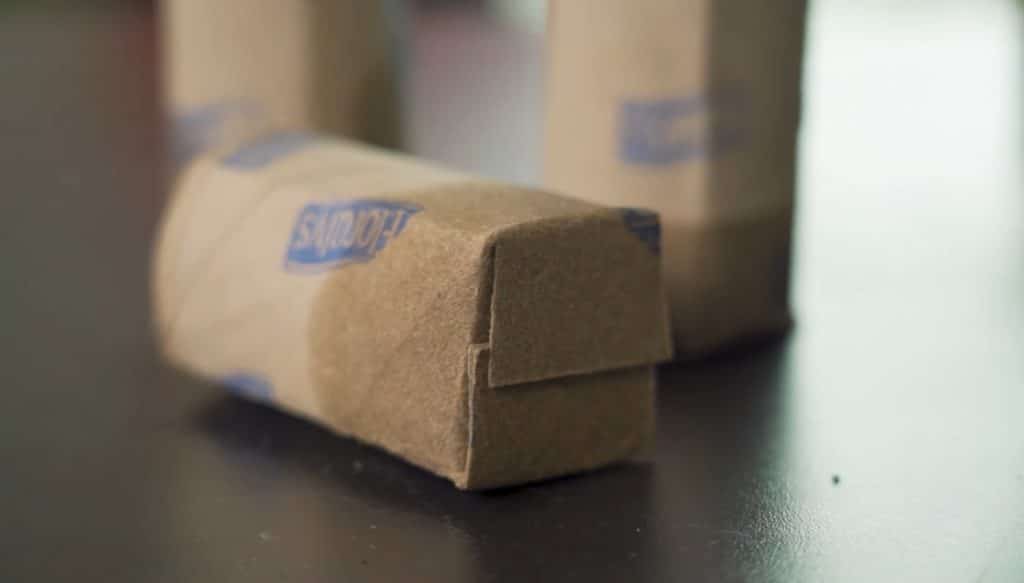
Another great way of using a toiler rol is this nifty design I found on Angelo Dorny’s YouTube Channel. By folding the sides inwards we create a base at the bottom of the toilet rolls and pretty much turn them into pots. This way the compost won’t fall out of the roll anymore.
Creating these toilet rolls is really as easy as it seems. Push the roll flat and fold it in half. This way we can see our cutting lines. Start with the outside folds and cut about 1,5cm (0,5”) deep. Moving on with the center fold, also a 1,5cm (0,5”) cut. Unfolding the toilet roll we can push the created flaps on each other. Now all we need to do is glue the paper by making it wet. Wet toilet rolls are easy to mold. Let them dry for about 24 hours and they will keep their shape.
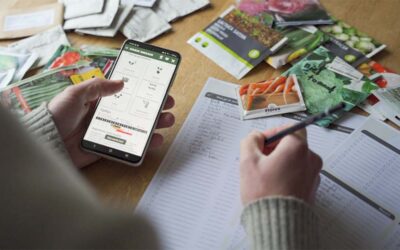
And that is how you can grow vegetables and flowers indoors without spending a single dollar. Starting out seeds indoors is very important for people who have a short growing seasons. Here in The Netherlands the season is usually about 140 days long. But sometimes this can be less than 100 days. So starting early indoors is the way to go. If you want to know more about when to start your seeds watch my video “When To Start Seeds Indoors”.
Thank you for reading, If you have any creative ideas yourself don’t be afraid to leave a comment here on the blog so others can see!

0 Comments